What the Message node is for
The Message node is the default way to send text to a user inside a FlowCastle flow. You can use it for welcomes, prompts, confirmations, short explanations, and lightweight branching with buttons.
A good Message node does three things well: it says one clear thing, gives the user an obvious next step, and keeps the flow easy to continue.
Step 1: Write the main message first
Start with the core sentence before you add anything else. The text should explain what the bot is doing right now and what the user should expect next.
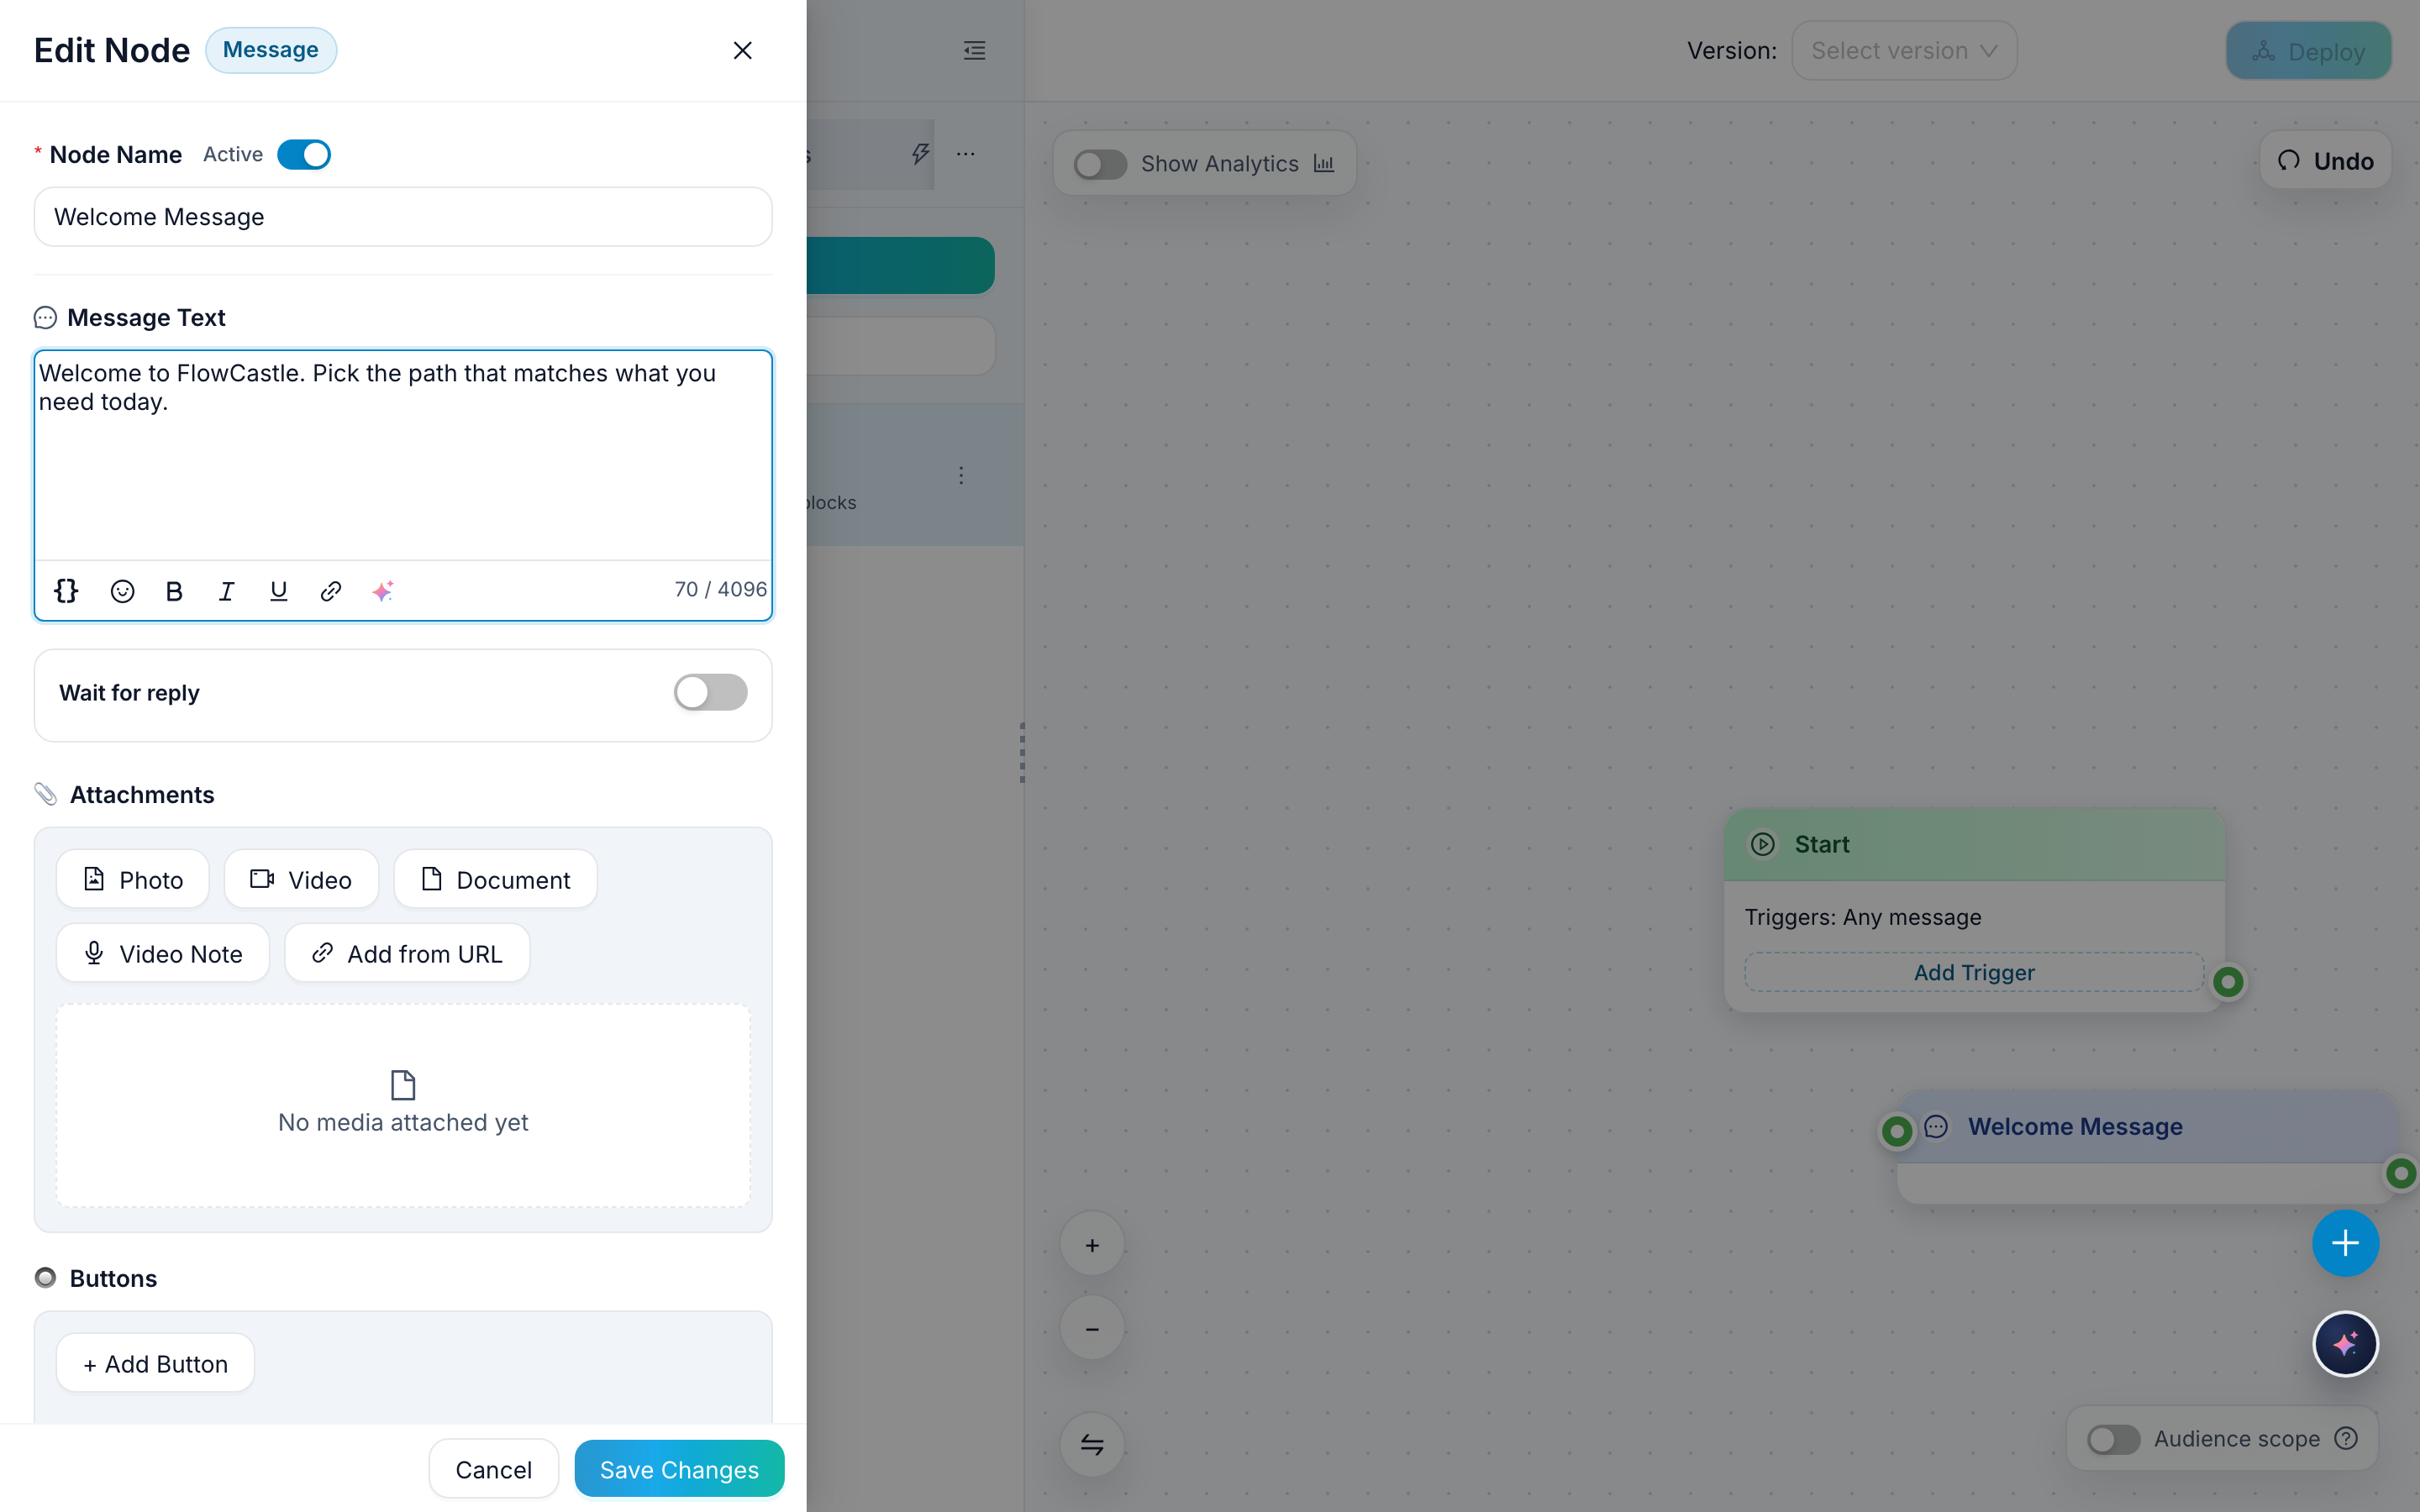
Tip: write the message as if it will be read on a phone. Short lines and direct wording usually perform better than dense paragraphs.
If you want help drafting the copy, use the AI assistant button in the message editor toolbar. It is useful for turning a rough idea into a cleaner first draft, but you should still review the final wording before saving.
Step 2: Add buttons for the next action
Once the message is clear, add buttons that help the user move forward. Buttons work best when each label is specific and action-oriented, such as Browse Docs, Talk to Sales, or See Pricing.

A useful rule is to keep the button list short. Two or three strong choices are usually easier to understand than a long menu.
If a button should open a page instead of continuing inside the flow, use the link option on that button and paste the destination URL. This works well for docs, booking pages, pricing, or any external next step.
Step 3: Open the variable picker when you need personalization
After the message structure is working, use the variable picker to personalize the reply. Common examples include the user's first name, plan name, lead source, or any contact field you already collect earlier in the flow.
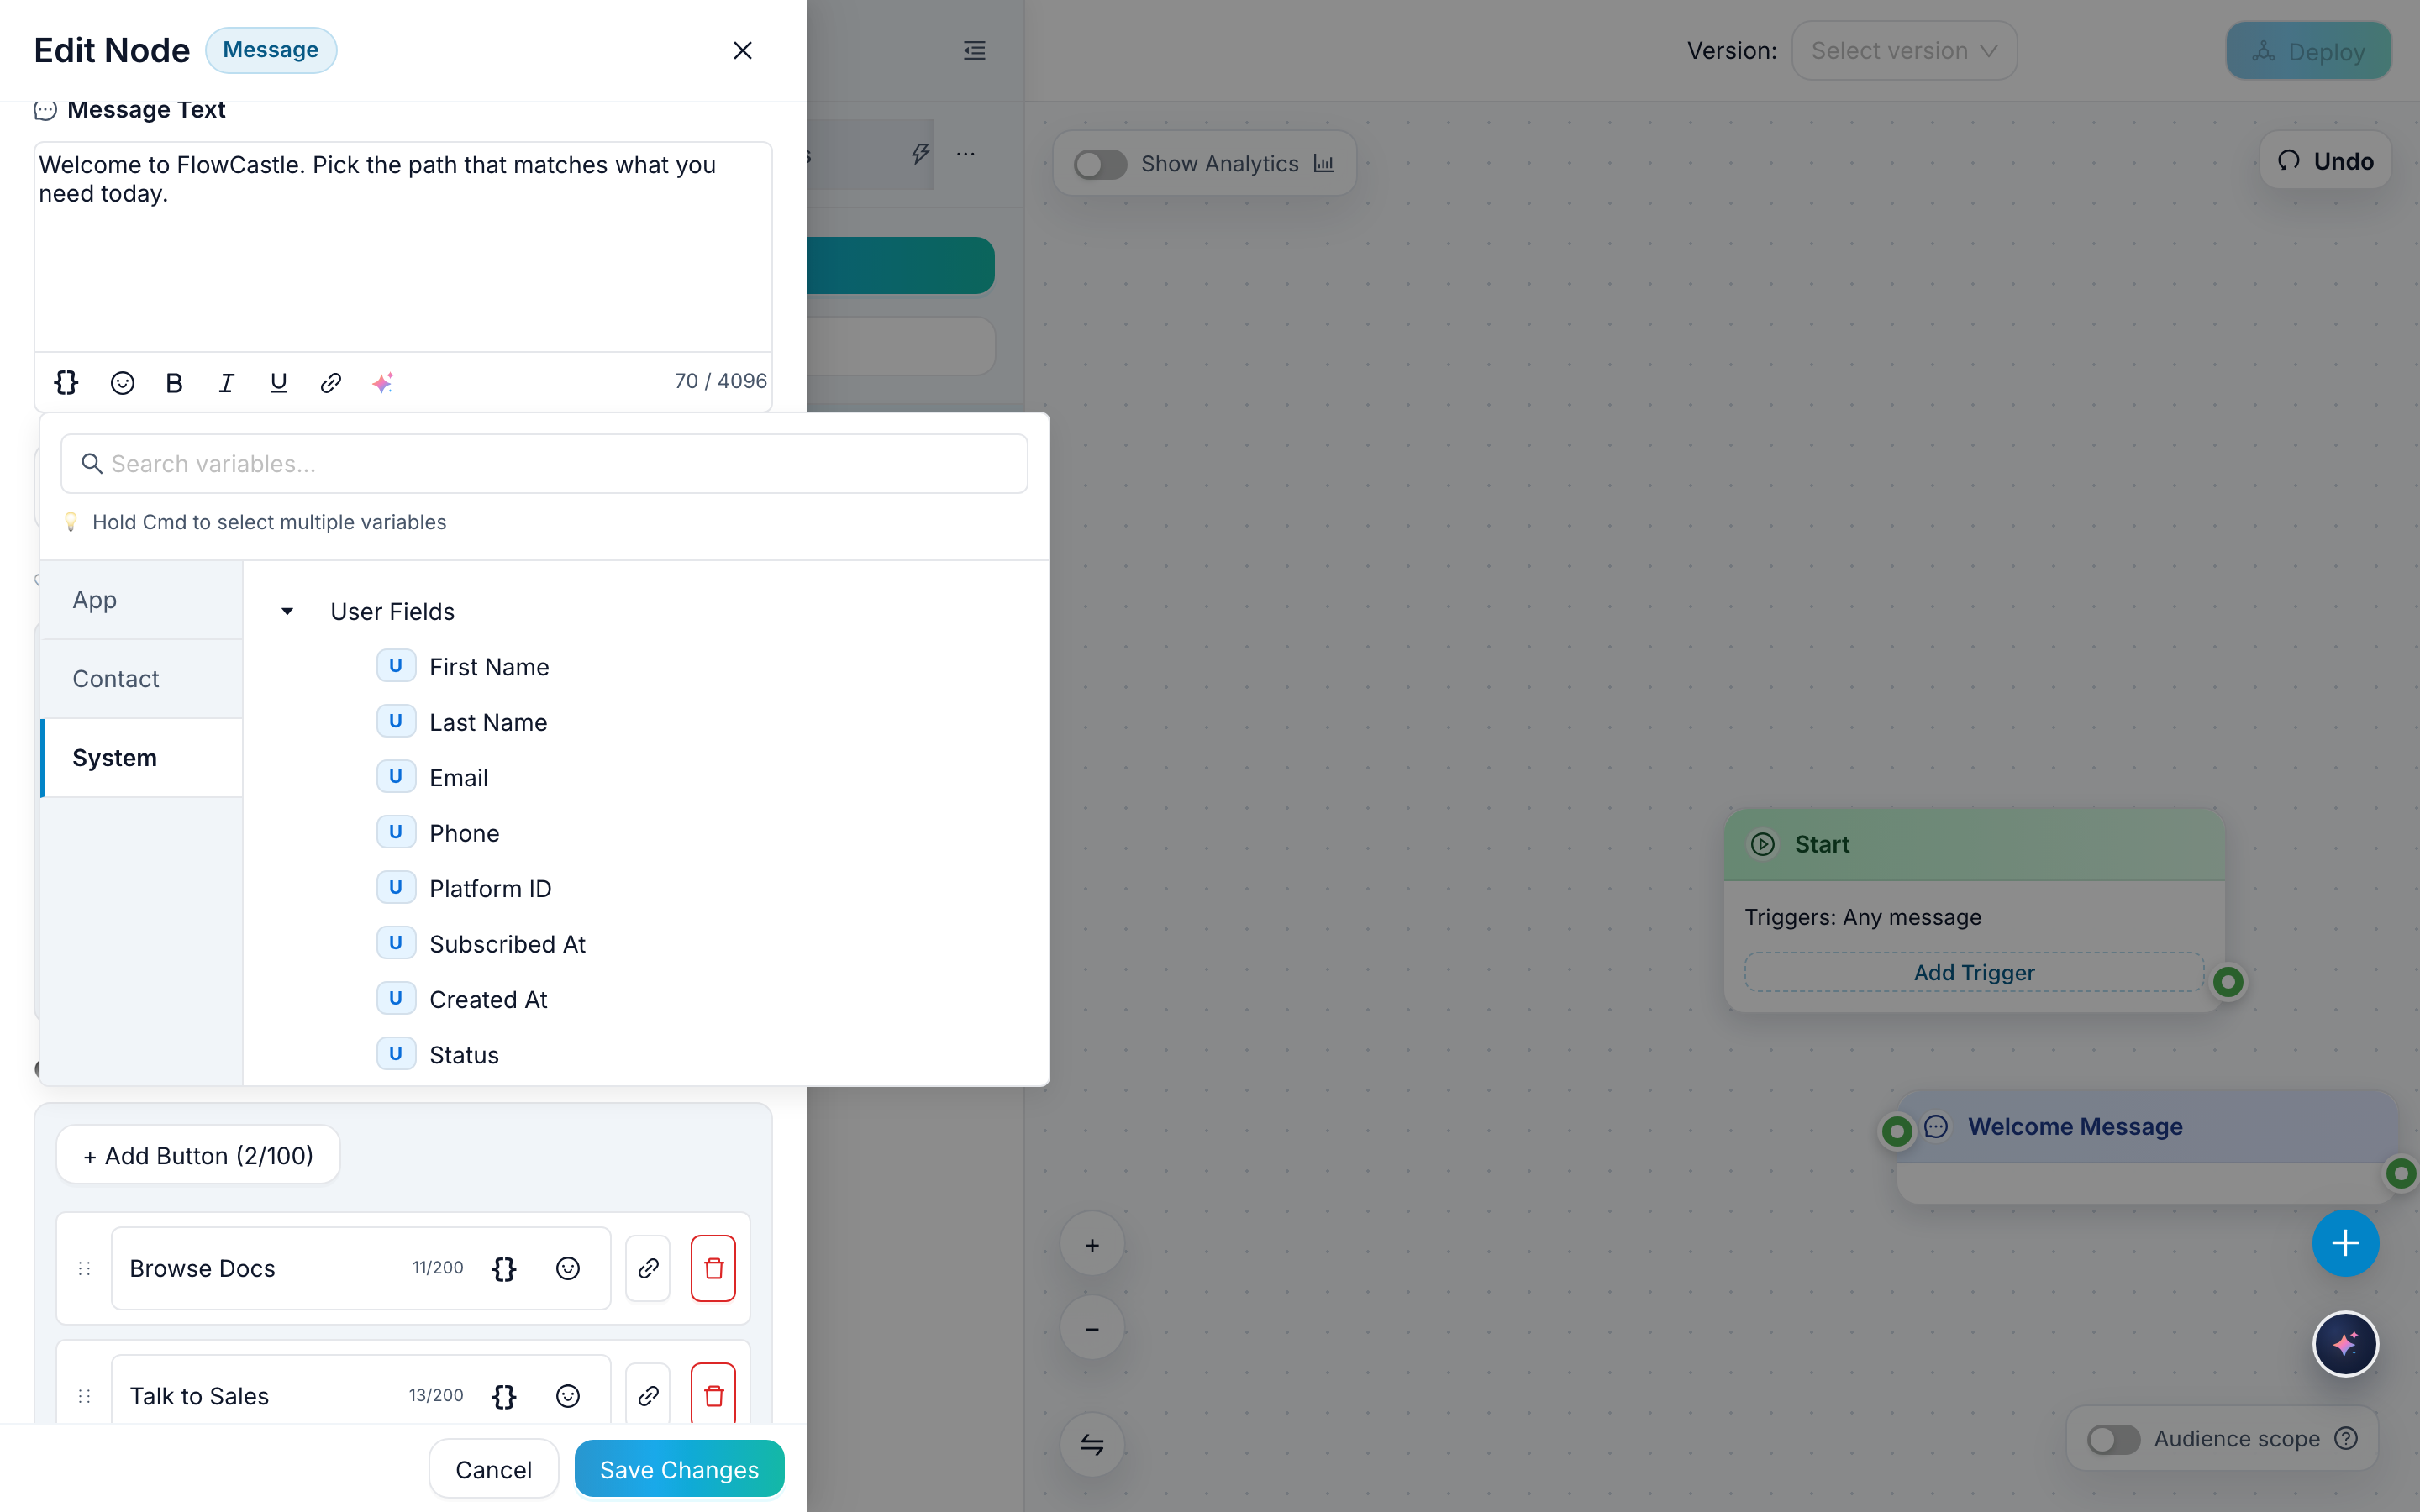
Use variables only where they improve clarity. If the sentence still works without them, the message will be more resilient when data is missing.
Step 4: Add attachments when the message needs media
The same editor also supports attachments. Use them when the message should include a photo, video, document, video note, or a file from a URL instead of plain text alone.
Attachments work best when the media helps the user act faster, for example by showing a product image, sending a PDF, or sharing a short explainer asset.
Step 5: Save and preview the result
When the text, buttons, variables, and attachments look right, click Save and test the node in the flow. You want to confirm the wording is readable, the buttons are in the right order, and any personalized or linked parts behave correctly.
What to improve next
After the Message node basics are in place, the next useful upgrade is branching logic. Pair this article with How To Add Your First Node if you are still building the flow structure, then move to conditions and routing once the message itself is solid.